Using the Threshold Tool in GIMP
Using the Threshold Tool in GIMP – Dale Rogers 2012
I mentioned in my last the GIMP tutorial, Digital Editing for Luddites, that I’d explore some of the more advanced features of GIMP editing later on. Using the Color>Threshold tool wouldn’t be what I call advanced by it was a tool that I didn’t mention earlier. I neglected to cover it cause I hadn’t used it. Oh, I’d explored the tool and played with it from time to time but I just didn’t have the right mind set to use it properly.
I was watching Saturday cartoons with my daughter when I noticed generous use of something like the threshold tool on one of the Sat. Morn kids shows. That gave me the impetus to sit here and experiment. Hopefully you’ll get the urge and give it a whirl too. I’d love to see what you come up with.
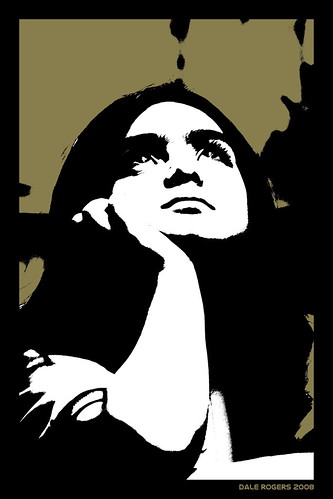
Here’s a couple of examples of the Color>Threshold tool. In the above example I very simply added color to sections of the image for contrast and highlight.
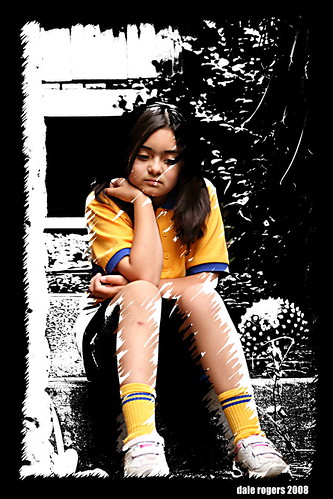
In the photo below, I used a couple of layers. First I made a duplicate layer of the original. There’s a little button on the layers dialog along the bottom that creates a duplicate layer. Just hover the mouse of the little icons and you’ll find duplicate.
I then selected the duplicate layer and chose Color>Threshold. I tweeked the threshold slider until I was satisfied with the result. I then pulled out my eraser tool and went to work. At first I didn’t like the results so I kept fiddling with the eraser size and settings. And Voila …
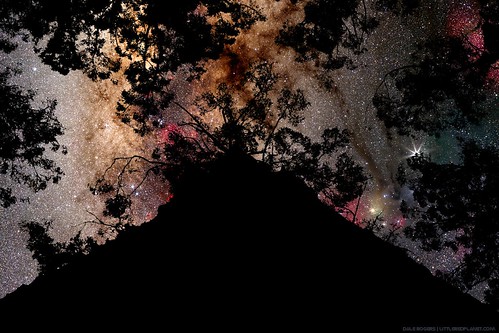
Here’s another threshold photo where I applied the effect, added a layer underneath the one with the threshold effect, removed all white color (using the ‘color to alpha’ tool in the Color menu) and then pasted a photo from the Hubble Space Telescope on the bottom layer.

As mentioned earlier, I’d love to see your results or better yet, learn a better technique from you.
Dale is a Native Texan now living on the island. He is a member of the Phillip Island Camera Club and specialises in iPhoneography and edited digital images.
GIMP is an acronym for GNU Image Manipulation Program. It is a freely distributed program for such tasks as photo retouching, image composition and image authoring.
It has many capabilities. It can be used as a simple paint program, an expert quality photo retouching program, an online batch processing system, a mass production image renderer, an image format converter, etc.
GIMP is expandable and extensible. It is designed to be augmented with plug-ins and extensions to do just about anything. The advanced scripting interface allows everything from the simplest task to the most complex image manipulation procedures to be easily scripted.
GIMP is written and developed under X11 on UNIX platforms. But basically the same code also runs on MS Windows and Mac OS X.


One Comment
Pingback: